

DIY party decorations are one of those topics where the advice online tends to swing between “glue gun your way to a magazine-worthy party” and “just buy a banner, it’s fine.” The truth sits somewhere in the middle, and it depends entirely on what kind of party you’re throwing and how much of a Sunday afternoon you’re willing to sacrifice.
At its simplest, DIY decorating means making, customising, or repurposing the things that dress up a celebration — banners, garlands, centerpieces, photo backdrops, table settings, lighting, favours. Some of these projects take fifteen minutes with scissors and a roll of tape. Others involve a sewing machine, a cutting mat, and several evenings you didn’t quite plan for. I’ve done both kinds, often for the same party, which is usually how it goes.

Why Bother Making Your Own Decorations
The obvious answer is customisation. You can’t buy a banner that says “Granny Pat Turns 80” or matches the exact dusty pink your cousin has decided is her wedding colour this year. Making it yourself means the sign, the napkins, and the favour bags can all pull from the same palette, which gives a party a coherence that mismatched shop-bought bits rarely achieve.
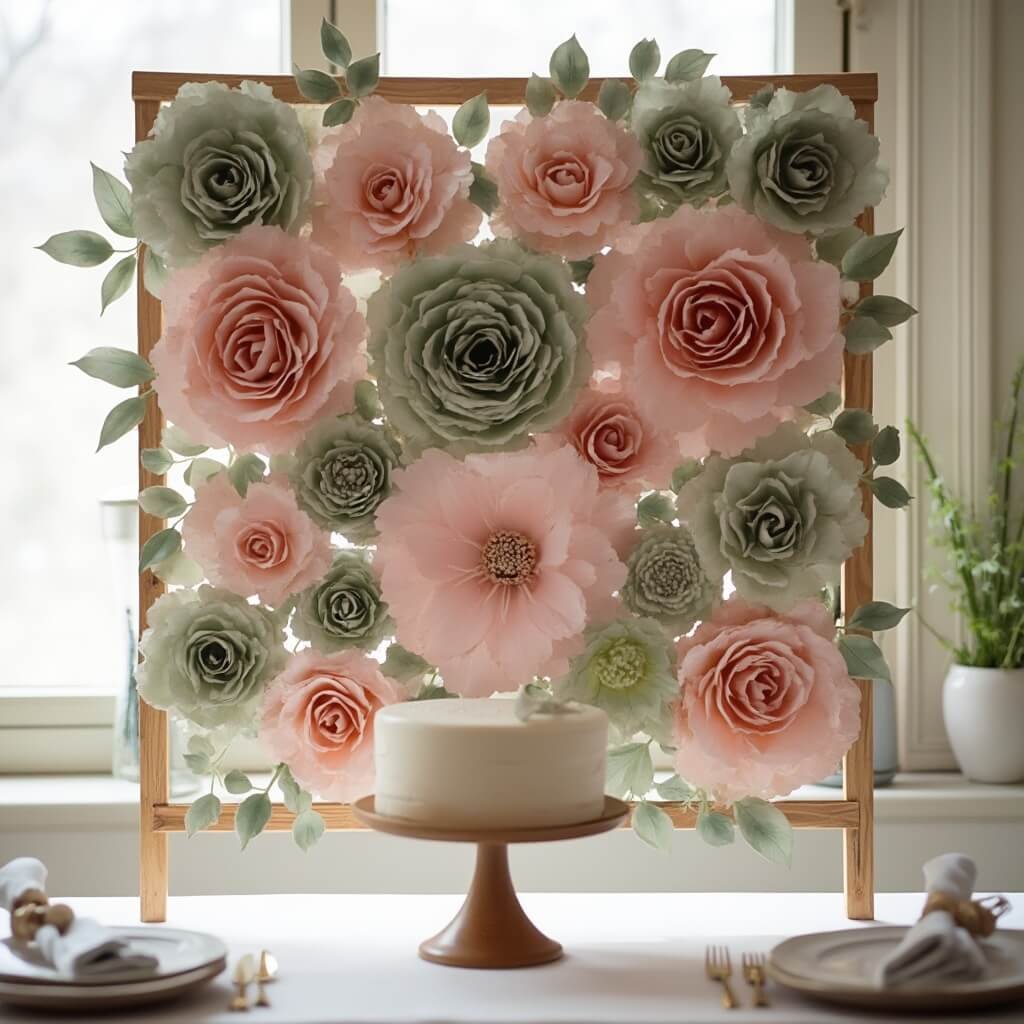
Then there’s cost — though I’d push back slightly on the assumption that DIY is always cheaper. It can be, if you’re clever about it. The trick is making one or two high-impact focal points rather than trying to decorate every available surface. A beautiful paper flower backdrop behind the cake table does more work than fifteen small matching details scattered around a room that nobody really looks at closely.
There’s a sustainability angle too, and it’s not just marketing spin. The EPA specifically lists borrowing, renting, sharing, and choosing reusable products among the most effective ways ordinary households can cut down on waste. Reusing jars as vases, old sheets as bunting fabric, or a cousin’s leftover fairy lights from last Christmas all count. It feels a bit smug to say “I upcycled this,” but it does mean less going into a bin bag at 11pm.
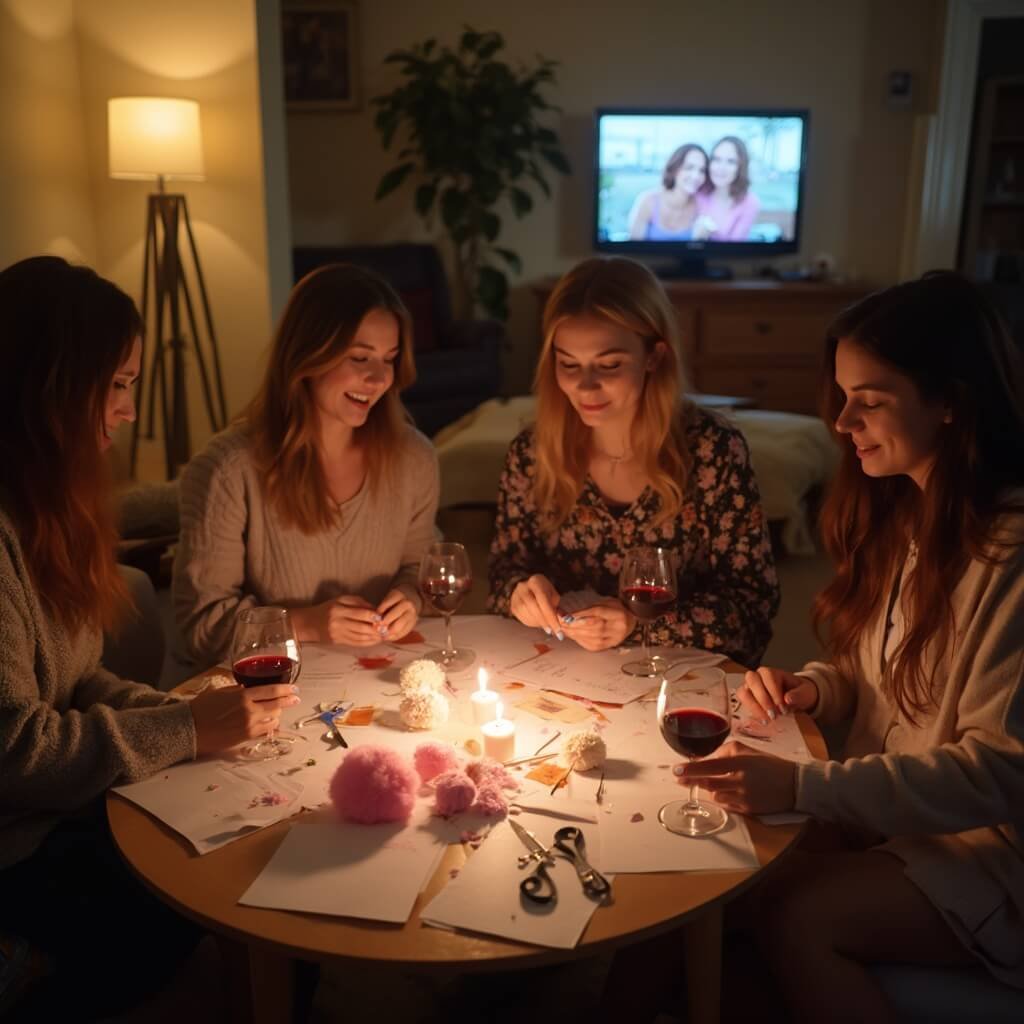
I’d also say there’s a social bonus nobody mentions enough: decoration-making doubles as an activity. I once had four friends round on a Thursday evening, wine poured, making tissue paper pom-poms for my sister’s baby shower while half-watching a film. It took longer than if I’d done it alone with full concentration, but it was more fun, and nobody minded that the pom-poms came out slightly lopsided.
Which brings me to the imperfection point — handmade items often look obviously handmade, and that’s not automatically a bad thing. A slightly wonky paper garland reads as warm rather than sloppy, in my experience, as long as it’s not falling apart.
Where DIY Decorations Go Wrong
None of this is free, and I mean that in terms of time as much as money. Cutting forty paper triangles sounds quick until you’re doing it at midnight the night before the party because you underestimated how long “quick craft project” actually takes. Drying time alone catches people out — paint, glue, and fabric dye all need longer than you think, especially if you’re working somewhere cold or damp.
Some projects genuinely need a skill you might not have. A fabric backdrop looks easy until you realise hemming raw edges without a sewing machine is fiddly and slow. Woodworking projects, anything involving a cutting machine, or electrical work for lighting installations are not beginner-Tuesday-evening tasks.
There are hidden costs too. Glue sticks run out faster than you’d believe, specialty cardstock isn’t cheap in bulk, and if a project fails halfway through you’re buying replacement materials on top of what you’ve already spent. I budgeted £40 for a giant paper flower backdrop once and ended up closer to £65 once I’d bought a second type of floral wire because the first was too flimsy to hold the petal shapes.
And then there’s what happens afterwards. Large props need somewhere to live, and a cardboard photo booth frame does not fold flat elegantly. If you’re not planning to reuse something, think honestly about whether it’s worth making at all versus renting or borrowing.
Getting the Planning Right Before You Start Cutting Anything
Before any glue comes out, it’s worth nailing down the basics: what’s the occasion, who’s coming, and where is it happening. A fortieth birthday in a rented hall has completely different constraints to a baby shower in someone’s small flat — wall space, whether you’re allowed to use nails or just tape, weather if it’s outdoors, and what the venue’s fire rules say about candles or draping fabric near light fixtures.
I always find it useful to write this down properly rather than keeping it in my head, because the constraints shape every decision after this point. A venue that won’t allow Blu Tack on the walls changes your entire backdrop plan.
From there, pick a visual direction. I’d keep the palette simple — two main colours, one accent, one neutral — and apply it consistently across paper, fabric, and tableware rather than hunting for an exact match everywhere. Perfectionism here just slows you down and the difference is barely visible in photos anyway.
Build a mood board, but use it properly: pull out repeated elements — a shape, a texture, a colour combination — rather than trying to replicate one gorgeous Pinterest image exactly. That single image was probably styled by a professional with a budget you don’t have.
Then make a decoration priority list. Pick one focal point — the dessert table, a welcome sign, a photo wall — and two or three supporting pieces around it. Overdecorating is a real risk with DIY specifically, because once you’re in the habit of making things, it’s tempting to make more things. Leave pathways clear, leave surfaces people actually need to use clear, and let height and lighting do some of the visual work instead of cramming in more objects.
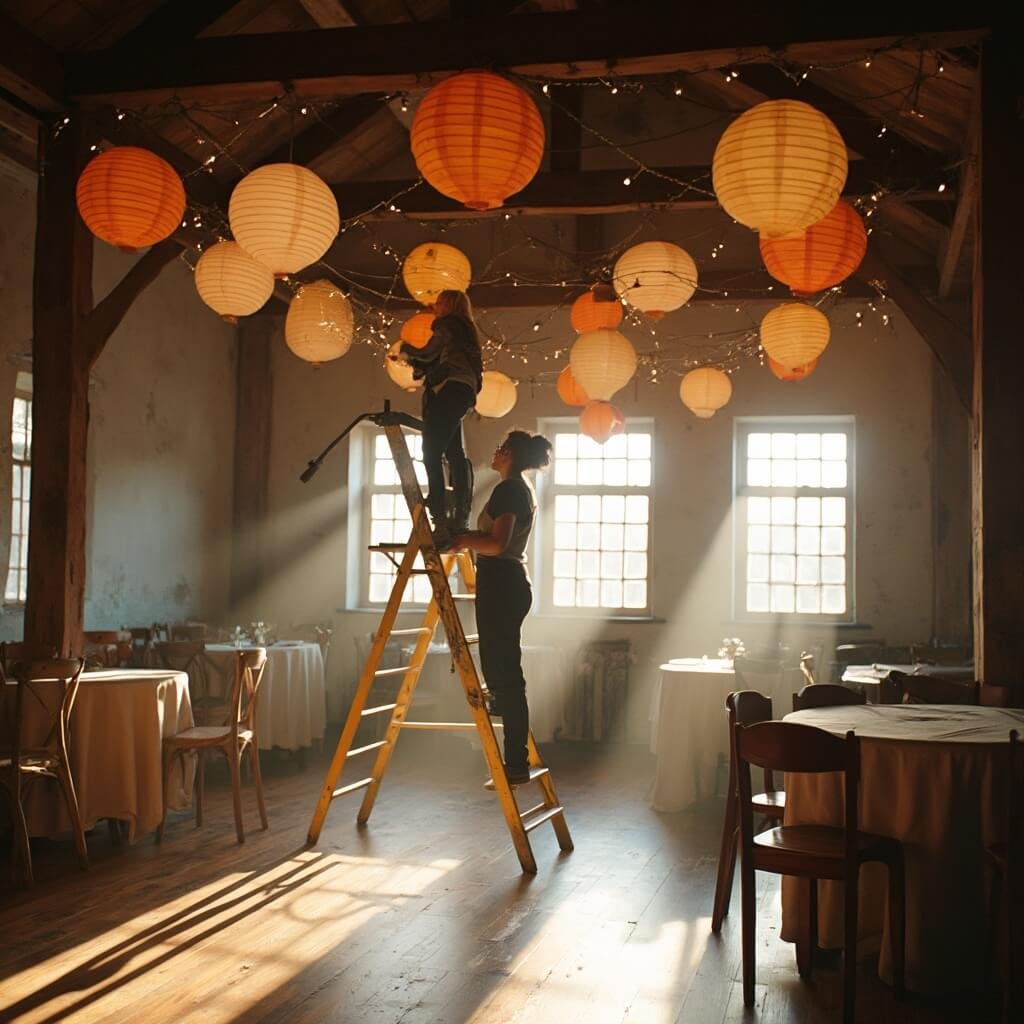
A rough schedule saves a lot of stress. Four weeks out, settle the theme and test anything complicated. One to three weeks out, make the paper goods and anything that stores flat. The day before, handle flowers and anything perishable. On the day itself, backdrop and overhead items go up first, then tables, then anything fragile or food-related last. I learned this order the hard way after hanging paper lanterns last at a party once and spending twenty minutes on a wobbly chair while guests were already arriving.
For more inspiration, you might want to explore DIY balloon art techniques or consider adding some DIY hot air balloon decorations to your event.
👇Shop the Look Here👇
Budgeting Without Fooling Yourself
Work out roughly what you’ll spend before you buy anything, and break it down by category — paper and cardstock, fabric and ribbon, adhesives, paint, flowers, lighting, tools. It sounds overly formal for a birthday party, but it stops the classic trap of spending £15 here and £10 there until you’ve quietly spent £120 on what was meant to be a budget decorating job.
Be honest about when renting or borrowing beats making. A fabric backdrop you’ll use once isn’t automatically cheaper than hiring one, especially once you’ve bought a clamp stand, fabric, and the pins to hold it all together. I rent large vases and a proper tablecloth now rather than buying them, because I know I’ll use them once and then they’ll sit in a cupboard for three years judging me.
Add a contingency, even if it’s just 15% on top of your estimate. Something will go wrong — a dye will stain unevenly, a glue gun will run dry at the worst moment, a sheet of cardstock will tear right as you’re finishing the last letter of a banner. Budget for the retry, not just the plan.
The Toolkit Worth Actually Owning
You don’t need much to get started, but a few basics make everything faster and less frustrating. For cutting and measuring: decent scissors, a craft knife, a cutting mat, a ruler, and a hole punch. For assembly: a glue gun, double-sided tape, some removable adhesive strips for anything going on a wall, and a stash of twine or ribbon. For finishing: acrylic paint, a few paintbrushes, and some sandpaper for anything wooden or rough-edged.
If you’re going to do this more than once — and most people who get into DIY decorating do end up doing it again — a sewing machine and an electronic cutting machine are the two upgrades that genuinely change what’s possible. I resisted buying a cutting machine for years, assumed it was an unnecessary gadget, and now use mine for every single party I decorate. It paid for itself within about four projects.
Materials That Punch Above Their Cost
Paper and cardboard go furthest for the least money — cardstock for signs and paper flowers, tissue paper for pom-poms and tassels, plain cardboard for oversized letters and props. Fabric scraps, old sheets, and even retired T-shirts make surprisingly good bunting and table runners once you stop thinking of them as rubbish. Glass jars and bottles become vases, candle holders, or sweet containers with nothing more than a good wash and a label removed.
Natural materials are the cheapest decoration available to anyone with a garden or a short walk nearby — branches, pinecones, leaves, and seasonal flowers cost nothing and look considered rather than cheap, provided they’re clean and dry. Lighting is where I’d spend actual money: battery-powered LED candles and a few strands of warm white LED string lights do more for a room’s atmosphere than almost anything else on this list, and they’re reusable indefinitely.
Dressing Walls, Ceilings, and Backdrops
Banners and bunting are the easiest entry point into DIY decorating, and they’re forgiving of imperfect cutting. A paper pennant banner takes an evening; fabric bunting takes longer but survives being shoved in a box and reused for years, which paper rarely does. Letter banners spelling out a name or an age are particularly good value for photographs — they read clearly even from across a room, which a lot of prettier, more intricate décor doesn’t.
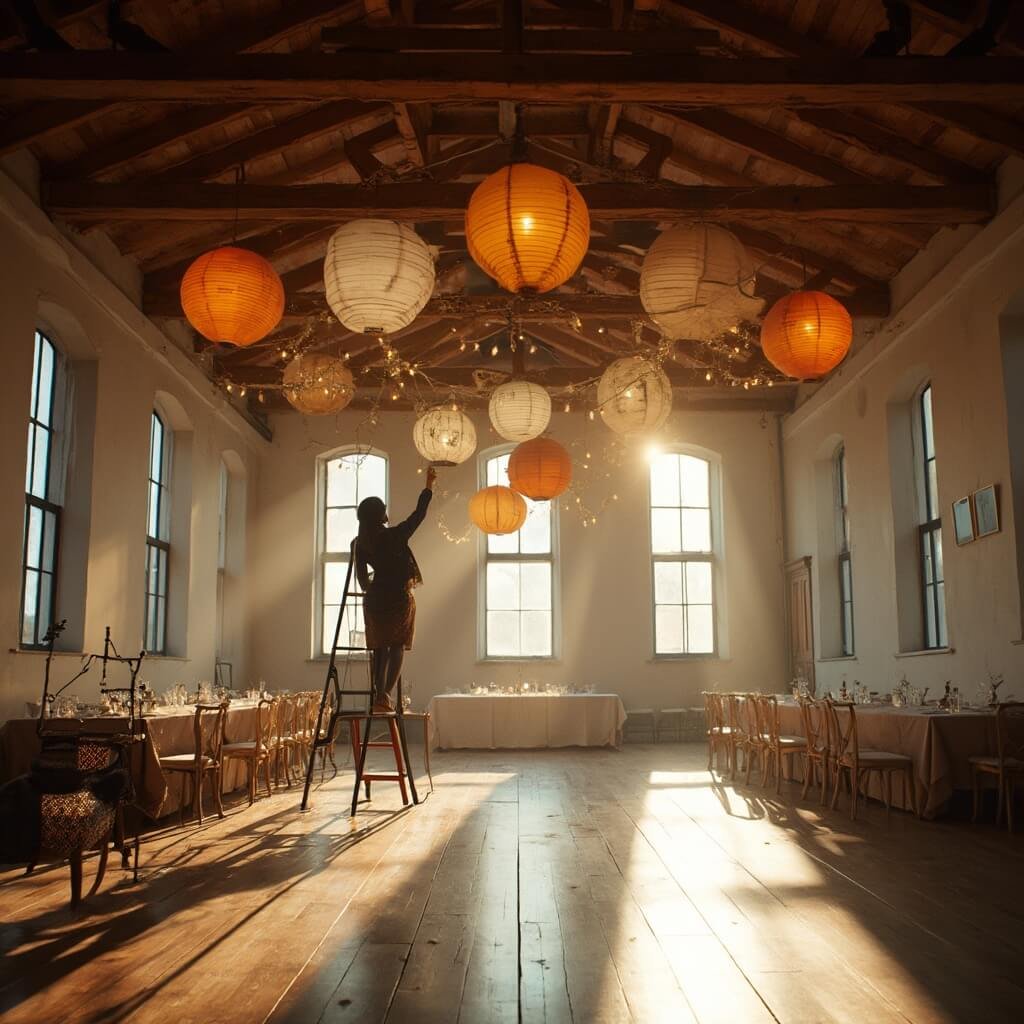
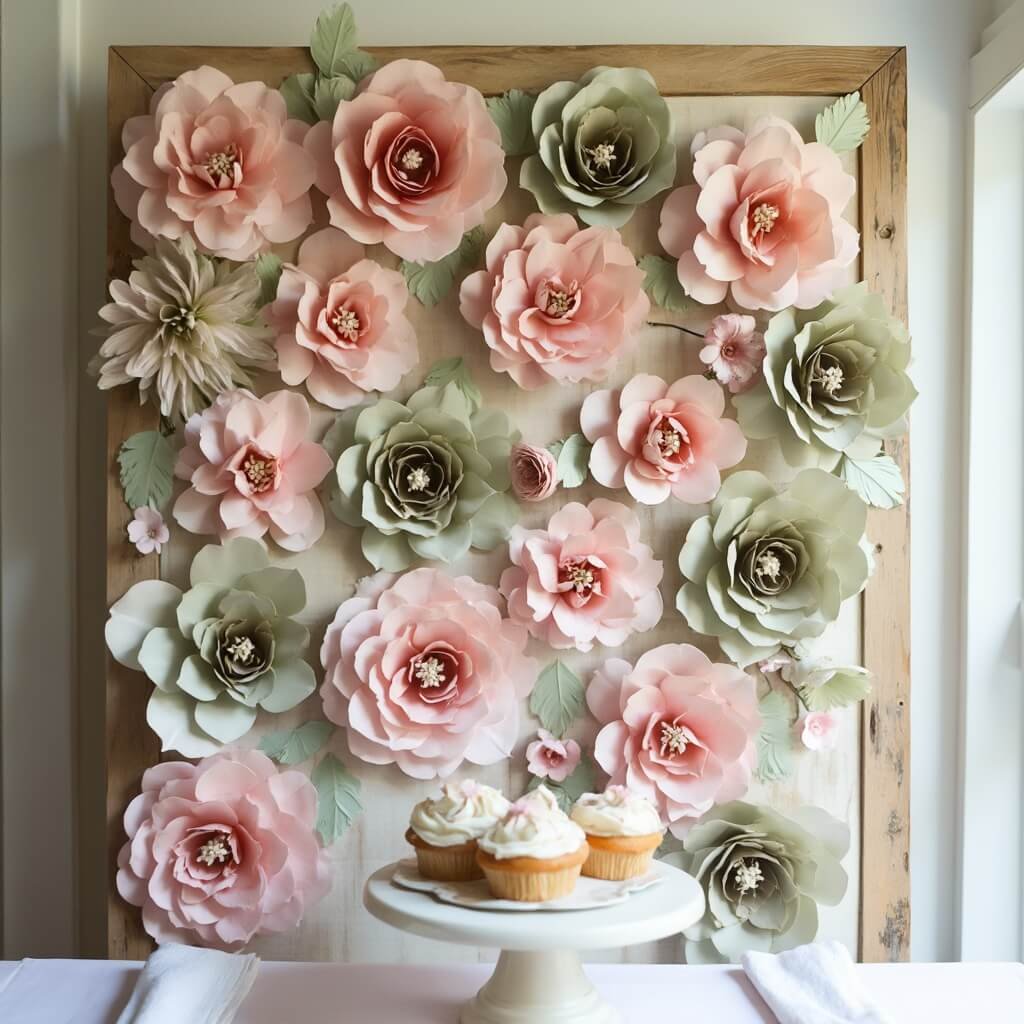
Tissue paper pom-poms and giant paper flowers are the two projects I’d point a beginner toward first. Both look far more impressive than the actual skill required, which is really just folding and cutting repeated shapes. Group pom-poms at different heights hanging from a ceiling or wall and you get instant depth without needing to be good at anything in particular.
For a photo backdrop, I’d lean away from balloons as a default, not for any moral reason but because they’re fiddly, they pop at inconvenient moments, and they don’t store for next time. A fabric panel with some paper flowers attached, or a streamer wall made from varied lengths of ribbon and crepe paper, does a similar job and survives being packed away afterwards.
Whatever goes on walls or ceilings, check it’s not blocking a fire exit, a sprinkler head, or a smoke detector, and test any removable adhesive on a small patch first — some paints and wallpapers react badly and you really don’t want to find that out on the day, in front of the host whose wall it is.
Balloon installations deserve a specific word of caution if there are young children at the party. The Consumer Product Safety Commission has been clear that uninflated balloons and broken balloon fragments pose a genuine choking and suffocation risk to children under eight. If you’re using balloons at all, go for air-filled rather than helium where you can, keep them away from toddlers unsupervised, and sweep up any popped pieces immediately rather than leaving them for later.
Tables, Lighting, and the Small Stuff That Photographs Well
Centerpieces don’t need to be elaborate. A cluster of mason jars with varying heights of greenery and a few fairy lights tucked in does more visually than one large, expensive arrangement, and it’s far cheaper. Edible centerpieces — a tiered fruit display, a bread board, a tray of colourful vegetables — solve two problems at once, decoration and food, provided you keep things hygienic and within reach of serving tongs rather than bare hands.
For candles, stick to stable, nonflammable holders and never leave a burning candle unattended — the National Park Service’s advice to keep flames at least 12 inches from anything combustible, and to use battery-operated candles where possible, is sound guidance for a living room as much as a campsite. I’ve switched almost entirely to LED candles for parties now; nobody’s ever noticed the difference across a dimly lit table, and nobody’s ever had to watch a dried flower arrangement nervously all evening either.
On the electrics side, don’t overload a socket with three extension leads daisy-chained together, and tape cords down anywhere people are walking. GOV.UK’s guidance on this is blunt and sensible: avoid overloaded sockets, and keep bulbs away from paper lampshades or fabric. It’s not dramatic advice, but it’s the sort of thing people genuinely forget when they’re focused on how a fairy-lit corner looks rather than how the cable got there.
My actual recommendation, after a fair few parties’ worth of trial and error: pick one ambitious DIY party decorations project you’ll enjoy making, keep everything else simple and bought or borrowed, and spend your remaining time on lighting and tidiness rather than volume. A well-lit room with one good handmade centrepiece beats a cluttered one with twelve mediocre ones, every time.
For more ideas, you can explore DIY balloon art tutorial and check out the Eco-Friendly Party Decorations You Can DIY at Home.
👇Shop the Look here 👇